Drawing a tow truck can be an enlightening experience for business owners involved in towing services. Understanding how to illustrate this vital vehicle not only enhances marketing materials but also ignites creativity in branding. This article will guide you through three critical aspects of drawing a tow truck. We will begin by exploring how to start with basic shapes, then delve into crafting the towing mechanism, and lastly, we will cover detailing and shading techniques. Each chapter will provide the insights necessary to produce a compelling and realistic illustration that reflects the significance of your service.
Foundations in Tow: Building a Tow Truck from Basic Shapes

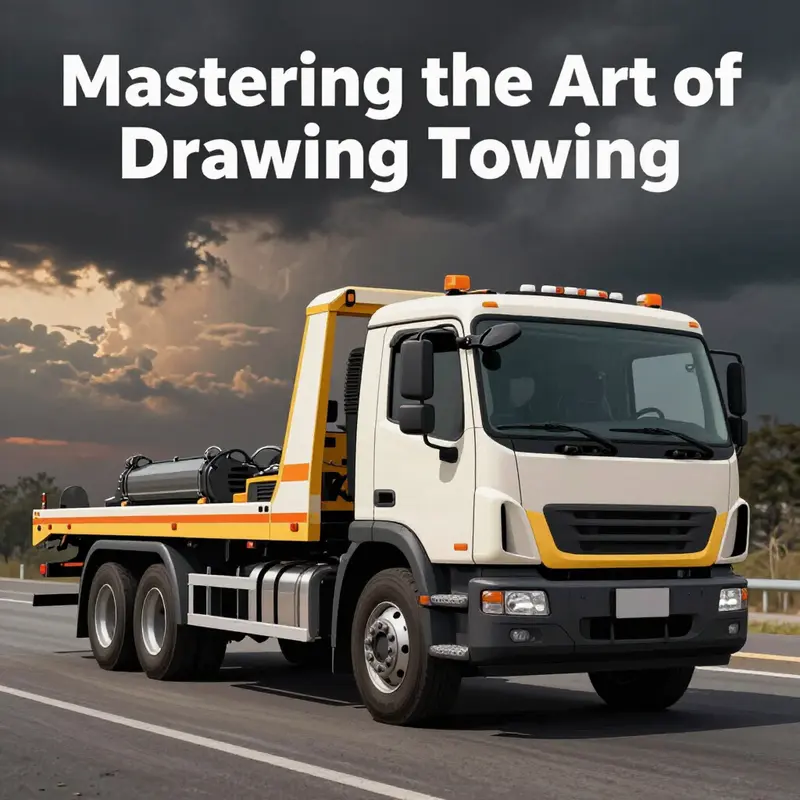
To begin a tow truck drawing focus on balance and simple geometry. Treat the vehicle as a stack of basic shapes that establish proportion before any detail. Start with a long rectangle for the main body to convey length and mass. This forms the chassis and gives a reference for where the cab sits and where the towing platform will occur. Place a smaller rectangle or trapezoid at the front to suggest the cab. The windshield and grille can be hinted with softened lines rather than drawn precisely at this stage. Add a simple bumper with a short line across the front to reinforce the sturdy stance. Behind the cab draw a larger rectangular bed or platform. This piece should feel heavy and has depth created by a slightly raised edge or parallel lines to imply a recessed surface. The space between the cab and the bed is key for believable overlap and perspective. Now sketch the wheels as cylinders or rounded rectangles at each corner. Make the wheels slightly larger beneath the platform to communicate power and weight. The tow boom begins as a vertical or angled line rising from the back or side and ends in a circular drum. A short line or chain can connect the drum to the ground or to a potential towed object. With these shapes in place, refine the outline, check the light source, and adjust lines for three dimensional form. Darken the main edges and erase construction marks while keeping enough guides to assess proportion. Perspective matters: the cab should read a touch larger than the rear, and the bed should appear longer and flatter. Add small details like wheel wells, hinges, and the cable along the boom. Subtle shading under the vehicle will ground it in space. If you want color, choose a high contrast scheme that emphasizes the strong geometry while keeping the tow mechanism readable.
Crafting the Towing Mechanism: A Dynamic Guide to Tow Truck Drawings
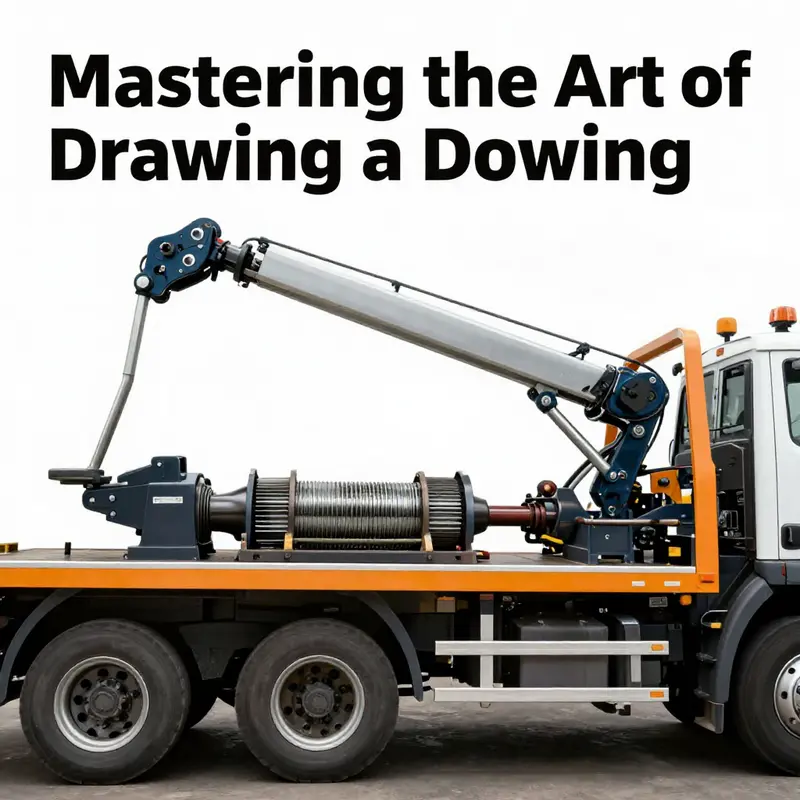
The towing mechanism is the visual and mechanical heart of a tow truck, the part that communicates purpose even before the vehicle moves. In drawing, giving this component thoughtful weight and articulation can transform a simple truck into a believable tool of recovery. Start by recognizing the four primary archetypes you’ll encounter in real life and adapt your approach to each without losing a coherent overall silhouette. Flatbeds, wheel-lifts, integral builds, and rotators each demand attention to different joints, hinges, and lines of force. When you plan your illustration, you begin with the chassis as a sturdy stage, then place the towing mechanism on top, so every subsequent detail responds to gravity, balance, and perspective. The result should feel as if the mechanism could actually operate, which means thinking in three dimensions from the very first sketch.
In the flatbed or rollback type, the most distinctive feature is the hydraulically operated bed that tilts backward to form a ramp for loading a vehicle. Your drawing should convey the bed as a long, slightly inset rectangle that can hinge at the rear and slide on rails. Show the hydraulic cylinders with a slim, cylindrical form, connected to the bed and hidden behind the chassis when viewed from certain angles. A sense of depth comes from shading the inside of the rails and the underside of the bed, revealing the mechanism as a system rather than a single flat surface. When the bed returns to a level position, the lines should imply smooth motion, almost like a hinge gently snapping back to its resting place. Think about how the towed vehicle would interact with this surface: a faint shadow along the ramp and small, precise lines where tires would rest. The visual cue of a loaded bed is the balance between the supported rear and the raised front, a subtle reminder that the truck is designed to lift, tilt, and secure.
The wheel-lift variant emphasizes a metal yoke or fork instead of a full bed. In your drawing, the lifting arm should read as a strong, angular support that slides under a wheel. The yoke’s pivot points and the chain or strap that anchors the lifted wheel need to be visible but not overpowering. Use lighter lines to suggest cables and stronger lines for the main lifting arm to communicate tension and mechanical leverage. The weight distribution shifts dramatically with a wheel-lift, so adjust the wheels and suspension to reflect a stance that looks ready to lift rather than merely propel. You might show the lifted wheel slightly off the ground with a short shadow beneath and a hint of compression in the opposite side’s tire, reinforcing the idea that the car is being hoisted rather than pushed.
For an integral or Hudani-style design, the towing mechanism sits within the chassis itself, a compact arrangement that blends functionality with a streamlined silhouette. Here the boom, winch, and sometimes a discreet wheel-lift are integrated into the frame, so your lines should flow uninterrupted by external appendages. Focus on the contour of the boom—its taper, joints, and the way it tucks into the body when not in use. The winch drum might peek from a small access hatch, shaded to suggest metallic, hard-wearing parts. Emphasize how the components telescope or rotate with a careful balance of negative space and highlight. This approach rewards a painterly eye for how light glints off metal, turning a potentially heavy topic into a sleek, technical drawing.
Rotator tow trucks introduce complexity with a 360-degree capable boom that can extend, tilt, and reach from almost any angle. The rotation base becomes a focal point, so render the joints with multiple hinge lines and overlapping metal ribs that hint at the mechanism’s travel range. The art lies in suggesting the motion without animating it; your shading and line weight should imply movement through tension and articulation rather than motion lines. When you combine a rotating arm with a compact base, you create a sense of dynamic reach that invites the viewer to imagine the vehicle capturing a difficult recovery from an unusual angle.
In practice, the key to a convincing drawing is to breathe life into the mechanism without overwhelming the rest of the truck. Start with the chassis, then add the main towing feature, followed by supporting structures and hydraulic details. Keep your lines crisp where the metal meets metal, and soften them where cables, hoses, or hydraulic pistons gently recede. Subtle bolts, hinges, and rivets can anchor the drawing in realism, while thoughtful shading reinforces three-dimensionality and weight. If you want a real-world touch that connects art and service, you can explore more on towing-service-washington-dc. For a visual reference beyond words, a step-by-step sketch can be very helpful, such as those found in instructional guides like the one linked here: https://www.pinterest.com/pin/123456789012345678/.
Detailing and Shading Techniques for Realistic Tow Truck Drawings
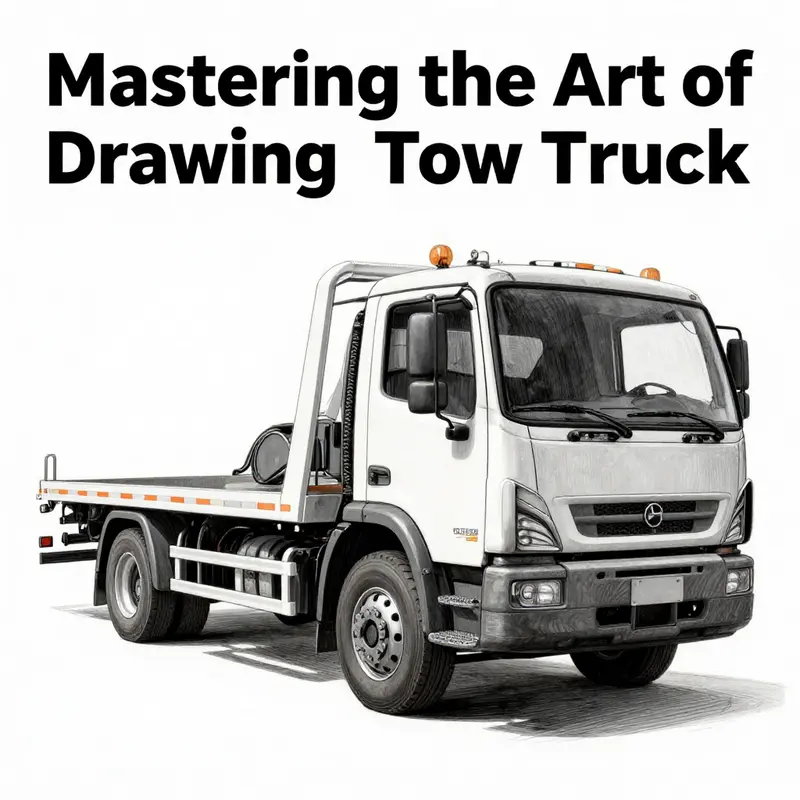
To render a tow truck with convincing weight and presence, start by training your eye on real references. Observe the proportions of the cab, the heavy duty crane, the winch cable, and the oversized tires. Sketch the basic geometry with a light touch: the cab as a rectangular prism, the crane arm as a sequence of cylinders and beams, and the wheels as large circles that anchor the vehicle in space. This initial stage should feel almost schematic, a scaffolding you can refine later. The goal is not to stray from the vehicle’s mass but to capture its essential geometry so the rest of the details sit correctly in three dimensions.
Move into detailing. Emphasize mechanical features such as rivets along the frame, bolts on the crane base, the textured surface of the winch drum, and reflective chrome accents on mirrors and bumpers. Include hydraulic lines, safety chains, and the towing hook with its secure pin. These small but precise details add authenticity and convey the vehicle’s heavy duty purpose. The tow arm and winch should read as mechanical systems, not just decorative hardware. When you study a real example, let the hardware guide your line weight and rhythm on the page. For a practical reference, consider a local tow truck service in Alexandria, VA to observe how components align in perspective. tow-truck service in Alexandria, VA.
Shading techniques come next. Identify your light source, typically from above and slightly to one side, and apply gradual gradients using hatching and crosshatching. Darken the underside of the cab, the inner wheel wells, the space behind the crane arm, and the area beneath the chassis where shadows fall. Use a blending stump to smooth transitions, then lift highlights with a precision white pencil or gel pen on key metal surfaces—the cab roof, hood, and mirror housings—to simulate reflections. The winch drum earns particular attention: render its knurled texture with tiny, even stipples or short crosshatches, and keep the cable as a fine, controlled line that catches light. The chrome elements should feel slick and bright, so don’t let shadow spill onto them unevenly. If you prefer graphite shading, layer softly, letting midtones glow before you darken the deepest recesses.
Detailing the crane and towing mechanism helps anchor realism. Render the crane arm as tubes and beams with subtle changes in tone along its length to reveal its hollow form. The winch cable should appear as a series of parallel lines with occasional brighter streaks to show tension and roundness. The towing hook and its pin should sit in a recessed pocket, with a tiny shadow underneath to suggest depth. Remember that small components—like rivets along the frame or bolts at the base of the crane—signal manufacture and function. These elements signal to the viewer that the truck is a working machine, not just a silhouette.
In the finishing phase, avoid flat coloring. Build tone with layered graphite or colored pencils, so transitions feel organic and edges stay crisp without looking carved. Refine edges with careful erasing to keep lines clean while preserving texture. The final image should balance mechanical precision with expressive lighting, making the tow truck read as powerful, capable, and tangible. If you want to explore more visual demonstrations of these techniques, you can consult a comprehensive drawing guide on a popular visual platform. For real-world practice, the Alexandria link above provides a concrete reference in context.
External resource: https://www.pinterest.com/pin/123456789012345678/
Final thoughts
By integrating the skills of drawing basic shapes, crafting a towing mechanism, and applying detailed shading techniques, you can master the art of illustrating a tow truck. This not only allows for a creative outlet but also aids in promoting your towing business with unique visual art. Remember, the skills acquired through drawing can significantly enhance your company’s marketing material and company branding efforts.